

 info@presentationdesigners.co.uk
How to Make PowerPoint Portrait Vertical Without Ruining the Layout
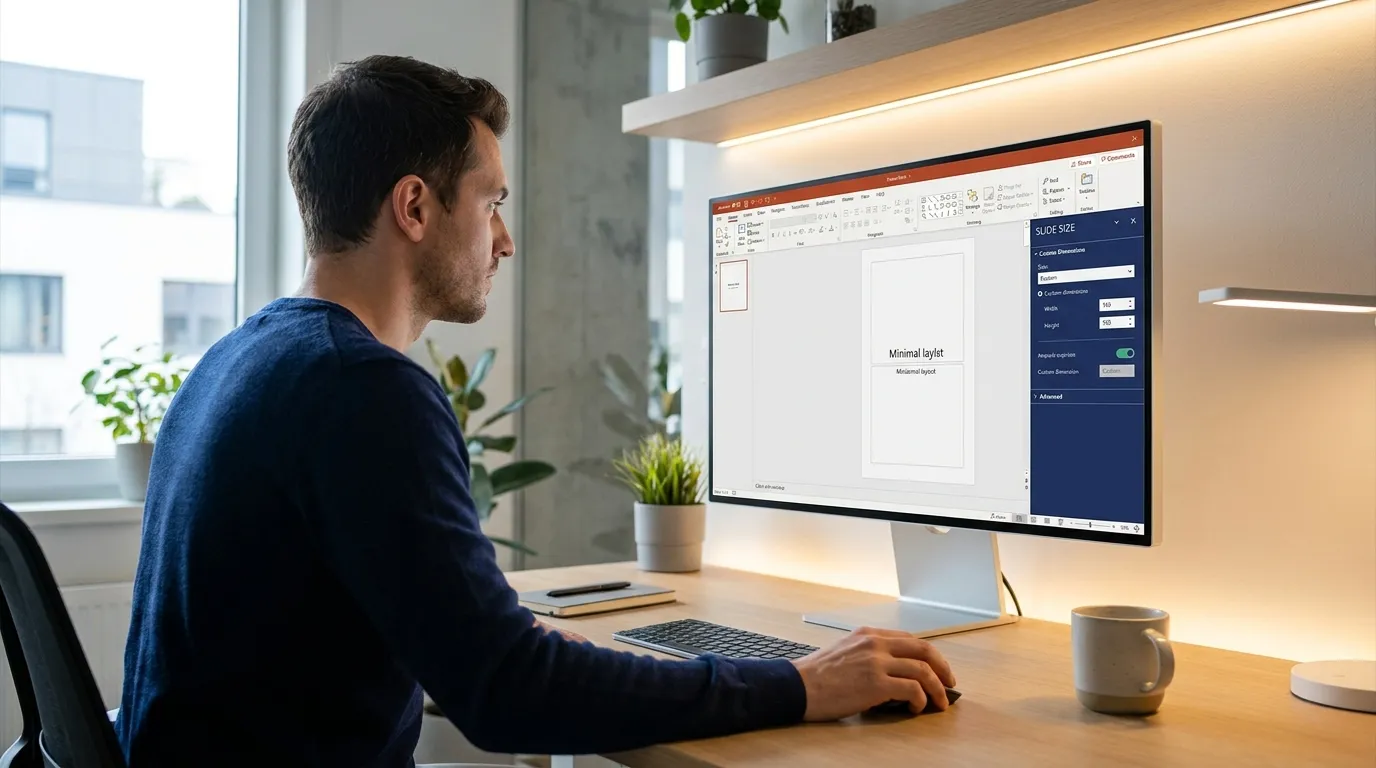
PowerPoint presentations are normally made using a widescreen template, but you don’t need to use them every time.
So, can you make PowerPoint portrait? Yes. A vertical layout can work better for posters, digital flyers, mobile content and documents that will eventually be printed.
Changing the orientation is a very simple answer to how to make PowerPoint portrait. The harder part is making the finished slide look as though it was designed vertically from the beginning. Just turning a landscape presentation into a taller format can leave text boxes awkwardly positioned and images badly cropped.
Keep reading to know about the key steps that cover both the technical settings and the layout decisions to change a PowerPoint slide to portrait.
What Is a PowerPoint Portrait?
The shape of your presentation should reflect where and how people will see it. A conventional presentation shown on a projector usually benefits from a wide canvas. A poster and mobile phone image can be much simpler to arrange when the information flows vertically.
The term “PPT portrait” basically means that the slides are taller than they are wide. In essence, it is just a PowerPoint presentation with a slightly different slide layout.
Here is how you can make a PowerPoint portrait according to an experienced PowerPoint design agency.
Step 1: Find the Slide Size Settings
Start by opening your presentation.
- Select the Design tab from the ribbon at the top of PowerPoint.
- Look towards the right-hand side for Slide Size.
- Select it and then choose Custom Slide Size.
This opens a window containing options for the dimensions and orientation of the slides. It is also where you can decide whether you want a standard presentation size or a custom one.
If you are learning how to make PowerPoint vertical, this is the setting you need. You do not have to rotate individual objects or create a special type of PowerPoint file.
The same menu is used for how to make vertical PowerPoint slide designs because the orientation applies to the slide itself.
Step 2: Select the Portrait Orientation
Inside the Custom Slide Size window, find the Orientation section. You will see options relating to the slides as well as notes and outline.
Under Slides, select Portrait and click OK.
The process will be reversed if you are searching for how to change to landscape in PowerPoint. You would select Landscape instead of Portrait.
This setting is sometimes confused with change orientation in PowerPoint generally, but there is no separate rotation tool required. The slide orientation is controlled through the Slide Size settings.
PowerPoint may ask whether you want to maximise your content or ensure that it fits the new slide dimensions. If you are working with an existing presentation, review the result carefully, whichever option you choose.
Step 3: Rebuild the Layout Instead of Squeezing It
This is where many designers go wrong. So, how to make a PowerPoint slide portrait while protecting the content inside?
Changing the orientation does not redesign the presentation for you. PowerPoint moves into the new format, but the original text boxes, images, shapes and charts still need attention.
This matters particularly when learning how to make PowerPoint presentation portrait for an existing deck.
Imagine a landscape slide containing:
- A large title at the top
- Three columns underneath
- A wide photograph across the bottom.
Those three columns may no longer have enough room for comfortable reading once the slide becomes narrow and tall.
You need to rethink the composition instead of shrinking everything.
You can keep the title at the top, while the three columns become three sections running down the page. The photograph could then sit between two of those sections or become a full-width visual at the bottom.
The important point is that how to change PowerPoint to portrait is only part of the job, and your content needs to be rearranged afterwards.
Step 4: Consider the Final Size
Portrait projects need different dimensions, and you need to remember this while learning how to make PowerPoint portrait.
- If the presentation will be displayed on a particular screen, check the required dimensions before designing.
- Consider the paper size if it is going to be printed.
- Think about the proportions of the platform where the finished graphic will appear for social media.
When people search for how to change landscape to portrait in PowerPoint, they may be looking only for the orientation button. However, choosing suitable dimensions at the beginning can save you from redesign work later.
The phrase how to make a powerpoint presentation vertical is often used when people are looking for this setup. In practice, PowerPoint handles the task through its slide size and orientation controls.
Step 5: Make the Most of Vertical Space
Portrait slides give you more room to organise information vertically, so use that advantage.
- A long block of text can work better as two or three shorter sections.
- A process can be arranged as a vertical sequence rather than a horizontal one.
- A photograph can occupy the upper half of the slide, with supporting information underneath.
This approach is useful when considering how to make a PowerPoint presentation vertical because the design should respond to the new proportions.
If you are searching for how to make a slide landscape in PowerPoint, the process is found in the same settings used to create a portrait slide. PowerPoint allows you to switch between the two orientations rather than locking a presentation into one format.
When preparing a pitch deck, pitch deck preparation services can help ensure that slides remain well-structured and visually balanced after switching to a portrait layout.
Step 6: Be Careful with Text
A lot of people make the font smaller simply because the slide has become narrower. This is a huge mistake when learning how to make PowerPoint portrait.
You should always try the opposite first.
Remove unnecessary wording and divide dense paragraphs into manageable sections. Consider removing something if it is not contributing to your message.
While deciding how to make a PowerPoint portrait, remember that readability should be considered first over preserving every element from the original version.
The same principle applies if you are working out how to make PowerPoint landscape after starting with a vertical design. Changing the dimensions will always require some editing instead of a simple switch.
Step 7: Reposition Images and Graphics
While you make PPT portrait, always remember that images often need more attention than text after an orientation change.
A wide photograph can become heavily cropped when you place it on a portrait slide. Try to check whether a different crop works better instead of stretching the picture. You can also move the image to the top or bottom of the slide and make it more prominent.
A slide portrait PowerPoint design can include tall photographs and infographics because their proportions naturally complement the page.
What About an Existing Presentation?
You do not necessarily have to start again from a blank file, as you can also change PPT to portrait.
So, how to make PPT slide portrait?
- Open the existing presentation and use the custom slide-size settings.
- PowerPoint will convert the overall slide shape, after which you can make adjustments to individual elements.
The same process applies to how to make PPT slides vertical. The technical change takes only a few steps, but adjusting the content to look balanced in the new layout can take time.
These portrait layouts can also work for investor presentation design when charts and key points are arranged to suit the taller slide format.
Use the Format to Improve the Design
A vertical layout should not feel like a landscape slide that has been forced into a smaller space.
Think about hierarchy.
- What should viewers notice first?
- Where should their eyes go next?
- Which information can be grouped together?
This is where portrait in PPT becomes a design decision rather than simply a formatting choice.
Portrait on powerpoint can also feel familiar for printed materials because the proportions resemble a conventional sheet of paper. This makes the format useful for certificates, event programmes and other printable material.
A PowerPoint portrait layout can also be effective for presentations that will be viewed on mobile devices, where a vertical screen is more natural than a wide one.
FAQS
Is it possible to use portrait and landscape slides in the same presentation?
Usually, PowerPoint uses one type of slide in each presentation. If you are wondering how to turn PowerPoint portrait and landscape slides together in the same presentation, one solution would be to use two presentations and switch between them.
Does changing orientation impact animations and transitions?
The resizing of slides does not mean that animations and transitions are going to be eliminated. But the objects involved in animations can change their positions following the changes in the layout; hence, you should always go through the entire presentation before submitting it.
Is it possible to save a portrait PowerPoint as PDF?
Yes, after having learned how to change landscape to portrait in PPT, the file can then be saved in a PDF format. This format keeps the slide sizes intact, which is good for distributing the presentation digitally.
Final Word
A portrait PowerPoint presentation is more than just a Landscape presentation oriented in another way. Orientation affects the way in which the available space is used and the relationship between various design elements.
PowerPoint switch to portrait can be done instantly, but the quality of the final presentation will depend on the steps taken after orientation. Always rethink your image placement, clean up busy content and make sure that each element has enough room to breathe.